
 Suomi
Suomi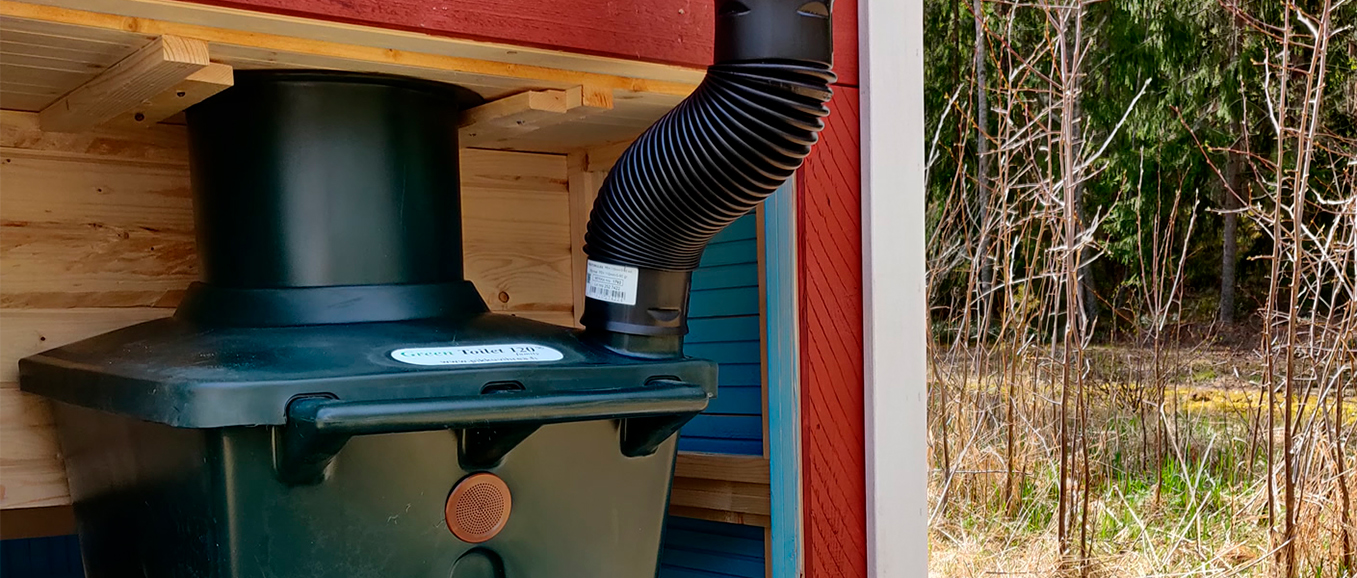
Green Toilet Outhouse Installation Guide – With Videos!

Installing a Green Toilet composting toilet in an outhouse can be an easy task, and it’s often possible in an old outhouse structure as well. By reading this article and watching the illustrative videos, you can quickly get the basics and may soon find yourself installing one for your outhouse! 🙂
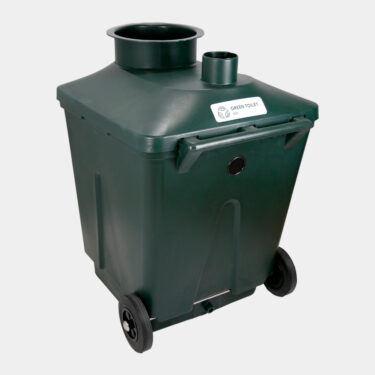
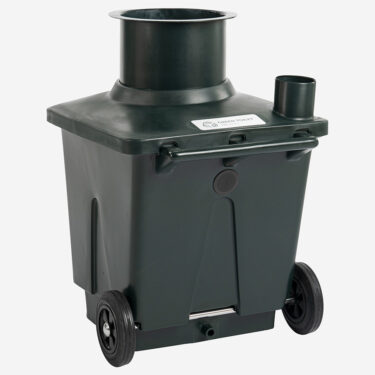
Green Toilet 330 and Green Toilet Family 120
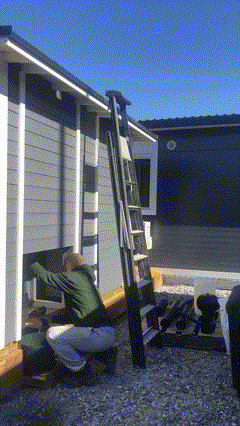
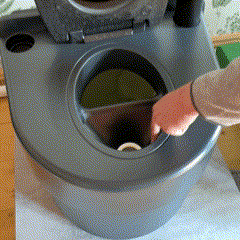
Both Green Toilet 330 and Green Toilet Family 120 are installed by sliding the container into place from behind the outhouse, under the toilet seat opening. The height of the waste chute can be adjusted by moving it vertically in the slot in the cover.
Under the toilet seat opening, on both sides of the seat aperture, two wooden guide blocks are installed (included in the package) to keep the Green Toilet’s waste chute stable during use.
The upper part of the waste chute wedges under the guide blocks and the toilet seat console, thus remaining securely in place.
If the waste chute is too long, the excess portion should be sawed off from the bottom. No more than about 2 centimeters of the chute should be left inside the container.
Toilet seat openings in outhouse structures often vary in shape and size, and there are no standard measurements. Typically, this is not an issue when installing the round (30 cm in diameter) waste pipe of the Green Toilet.
It is important to align the thermal seat, the front edge of the seat opening, and the front edge of the waste chute. Other parts may not need to align perfectly, but this ensures tidy usage.
The package includes a thermal seat along with its installation instructions.
Ventilation Pipe Installation
The ventilation pipe is preferably led straight up along the back wall of the outhouse, and a rain guard cap is placed at the end. The included flexible pipe section allows for adjustments in the position of the ventilation pipe. Metal HT-brackets for the ventilation pipes are also included in the package.
These can be bent at the appropriate point so that they can be screwed onto the wall. If there is a long eave behind the outhouse, it may be necessary to create a pass-through for the ventilation pipe through the roof.
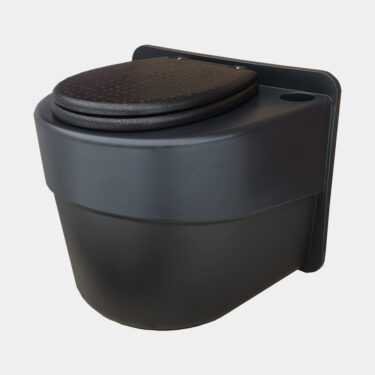
Green Toilet Easy
Green Toilet Easy is installed directly on the floor so that from the back, pass-throughs can be made for the ventilation pipe upwards and the liquid hose downwards. Options for installing the ventilation pipe:
A. The ventilation pipe is pulled directly out from the back of the toilet through the rear wall. A hole for this installation option is pre-made at the back of the toilet, viewed from the front, on the right side. After the rigid pipe, a flexible pipe is used for the bend and extended upwards, preferably above the level of the eaves. The included flexible pipe can be cut shorter and used if a bend is needed elsewhere in the installation.
B. If you prefer to route the ventilation pipe from the top or the left side of the toilet, you can plug the pre-made hole with the provided 75 mm plug and drill a new hole at the desired location. There are small drill mark indicators for alternative positions on top and at the back of the unit. Install flexible pipe at the point where you detach the toilet for maintenance. Flexible pipe can be used at bends and cut to the appropriate length.
Note that the ventilation works best if the pipe is drawn as straight upwards as possible. If you need to make bends in the line, it might be wise to add a wind fan (an optional accessory) to the end of the pipe to improve draft. Once the ventilation pipe is installed, add a ventilation pipe cap to the end to prevent rainwater from entering the pipe. For the liquid hose, a hole is needed in the back wall, as low as possible or through the floor to the outside. Connect the liquid hose included in the package to the toilet. The hole is at the bottom of the back. Connect the hose outside either to a collection canister or, for example, to a GeoTrap Dry Toilet Filter (optional accessory).
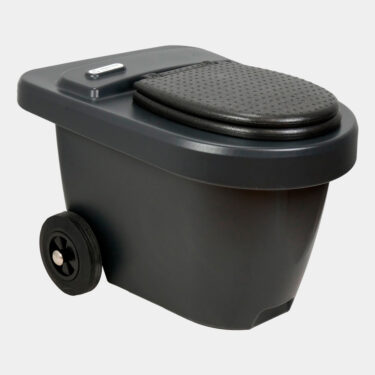
Green Toilet Light
The Green Toilet Light is installed directly on the floor in a location where a maintenance hatch can be created in the back wall for the toilet. It’s advisable to first mark the location and shape of the hatch on the back wall, perhaps with a marker, and then saw along the mark.
You can use the toilet itself as a template. After marking, the toilet can be placed against the back wall. The frame of the toilet is designed so that the cut remains neatly hidden behind the edge of the frame.
After this, you need to decide from which side you want to route the ventilation pipe.
On both sides of the seat, there are pre-made openings for the ventilation pipe. Once you’ve made your choice, remove the base on the side where the ventilation pipe will be located. Cutting can be done, for example, with a knife, as the cutting seam is pre-thinned. Insert the ventilation pipe into the opening and continue with the ventilation pipes in your desired manner outwards, either through the roof or the wall. You may need elbow pieces or flexible pipe for the installation – these are available from Pikkuvihreä or hardware stores.
Keep in mind that the ventilation works best if the pipe is drawn as straight upwards as possible. If you need to make bends, it might be wise to add a wind fan (an optional accessory) to the end of the pipe to improve the draft. Once the ventilation pipe is installed, add a ventilation pipe cap to the end to prevent rainwater from entering the pipe.
When installed correctly, the Green Toilet makes your outhouse odorless and easy to maintain – without compromising on comfort! 💚